| | LRK Home | | Bio Info | | Krash Khronicles | | LAROKE | |
| | BettyLou | | BillyBob's Garage | | Rat Patrol | | Deerslayer | | Elvira | |
| | Land of the Free and Home of the Brave | |
| | Keppylou's Art | | WWI Soldier's Diary | |
BillyBob Work-in-Progress Log
![]()
TRUCK LINKS including vendor sites for old parts, custom parts, and tools as well as sites for classic car and truck organizations
STORE Operating in association with Amazon.com, books, recordings and tools can be purchased.
PLANNING for the restoration including project schedule and cost estimates.
![]()
WORK-IN-PROGRESS is the restoration of parts of BillyBob that I can accomplish without a garage.
PRE-RESTORATION includes log entries of minor repairs and and adventures between time of purchase and the time when I started restoration, a piece at a time.
JR'S KORNER JR's Korner is the history of BillyBob before I got him authored by my brother, Wm. C. Kephart.
![]()
BILLYBOB MAINTENANCE Ever changing detailing, oil change, lube, etc. maintenance routines specifically developed for BillyBob, including required tools, materials and procedures.
STEALTH SHOP Urban residence design with large integrated shop and separate living quarters for a relative or renter.
22. One thing leads to another relapse
 May
18th 2002 Back in
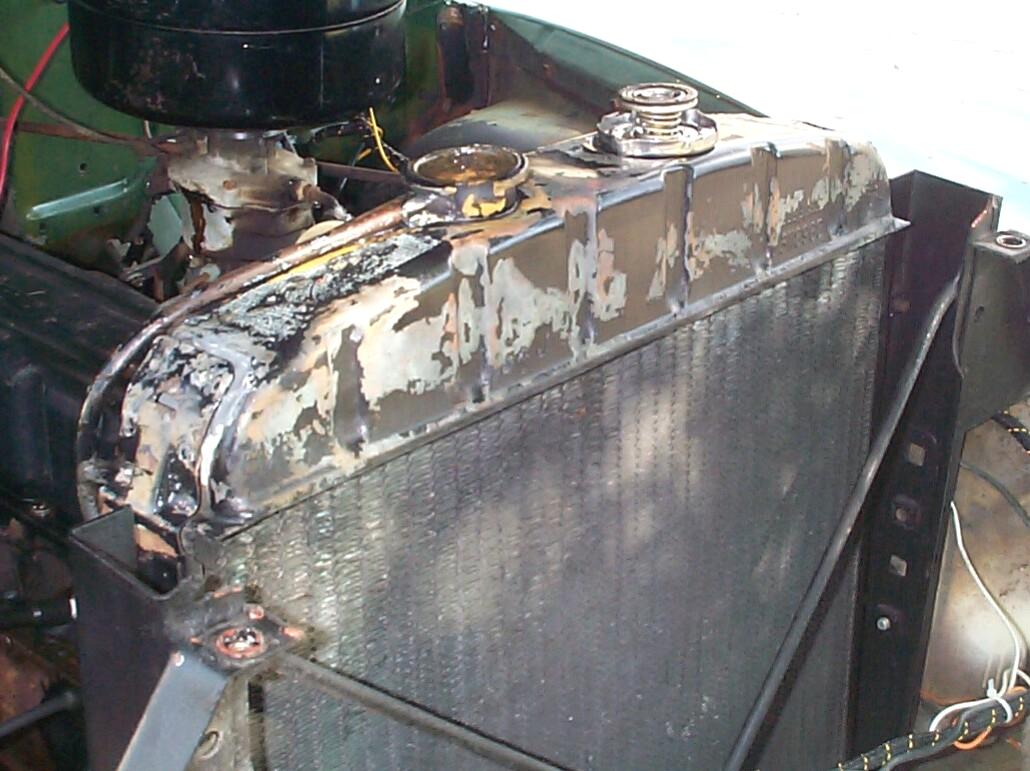
November of two-triple-ought, I cleaned and painted BillyBob's
radiator, radiator support, etc. Had some leaks which eventually got
fixed. Touched up the paint 'bout everytime the engine bay was
detailed. Couple of months back, the passenger side radiator support
strap broke away from the upper tank. Tried to fix it with JB Weld an'
I think that would'uv worked if I could have gotten a good clamp on the
thing while the epoxy set up . . . I didn't and ended up with the strap
still separated from the tank plus a big gob of JB Weld on the tank.
Felt that the vibration would cause a leak sooner or later so, I
decided to buy a new radiator from Chevy-Duty
(#78-011). This thing is brand new and not that expensive.
May
18th 2002 Back in
November of two-triple-ought, I cleaned and painted BillyBob's
radiator, radiator support, etc. Had some leaks which eventually got
fixed. Touched up the paint 'bout everytime the engine bay was
detailed. Couple of months back, the passenger side radiator support
strap broke away from the upper tank. Tried to fix it with JB Weld an'
I think that would'uv worked if I could have gotten a good clamp on the
thing while the epoxy set up . . . I didn't and ended up with the strap
still separated from the tank plus a big gob of JB Weld on the tank.
Felt that the vibration would cause a leak sooner or later so, I
decided to buy a new radiator from Chevy-Duty
(#78-011). This thing is brand new and not that expensive.
 Today
was the day to make the switch. Started by draining and backflushing
the system (I had installed a Zerex Flush Kit last time I had the
cooling system apart). Disconnected and removed the old radiator. One
of the broken x-brace connections I had epoxied last time had broken
again so, I stopped long enuf to clean the break and JB Weld it again
(don't have that MIG welder yet). Last time I installed the old
radiator, I fouled up the threads of one of the captured nuts in the
radiator support used to fasten the radiator. Didn't have a tap and die
set back then. I do now so the threads of that captured nut were fixed
before installing the new radiator. The drainage petcock was removed
from the old radiator, treated with high-temp thread sealant and
installed in the new radiator.
Today
was the day to make the switch. Started by draining and backflushing
the system (I had installed a Zerex Flush Kit last time I had the
cooling system apart). Disconnected and removed the old radiator. One
of the broken x-brace connections I had epoxied last time had broken
again so, I stopped long enuf to clean the break and JB Weld it again
(don't have that MIG welder yet). Last time I installed the old
radiator, I fouled up the threads of one of the captured nuts in the
radiator support used to fasten the radiator. Didn't have a tap and die
set back then. I do now so the threads of that captured nut were fixed
before installing the new radiator. The drainage petcock was removed
from the old radiator, treated with high-temp thread sealant and
installed in the new radiator.
 Installed
the new radiator in the support frame. This time I got all six
capscrews in, with a little threadlocker blue on each for good measure.
Last time I did this I had several leaks including the radiator hose
connections. This time I used Permatex 9 Tack & Seal gasket
sealant at the hose connections. The new radiator's overflow tube
terminates just outside the radiator filler neck instead of running
down the side like the old one. I was in luck, however, and the 7/16"
hose to the overflow tank on the firewall was still long enough to fit.
Put a gallon of Zerex coolant in the radiator and followed that with a
container of Zerex Water Pump Lubricant & Protector. Filled the
system the rest of the way up with tap water. Started BillyBob and let
him run for about thirty minutes . . . No leaks this time and the
temperature only went a third of the way up the gauge. GOOD!
Installed
the new radiator in the support frame. This time I got all six
capscrews in, with a little threadlocker blue on each for good measure.
Last time I did this I had several leaks including the radiator hose
connections. This time I used Permatex 9 Tack & Seal gasket
sealant at the hose connections. The new radiator's overflow tube
terminates just outside the radiator filler neck instead of running
down the side like the old one. I was in luck, however, and the 7/16"
hose to the overflow tank on the firewall was still long enough to fit.
Put a gallon of Zerex coolant in the radiator and followed that with a
container of Zerex Water Pump Lubricant & Protector. Filled the
system the rest of the way up with tap water. Started BillyBob and let
him run for about thirty minutes . . . No leaks this time and the
temperature only went a third of the way up the gauge. GOOD!
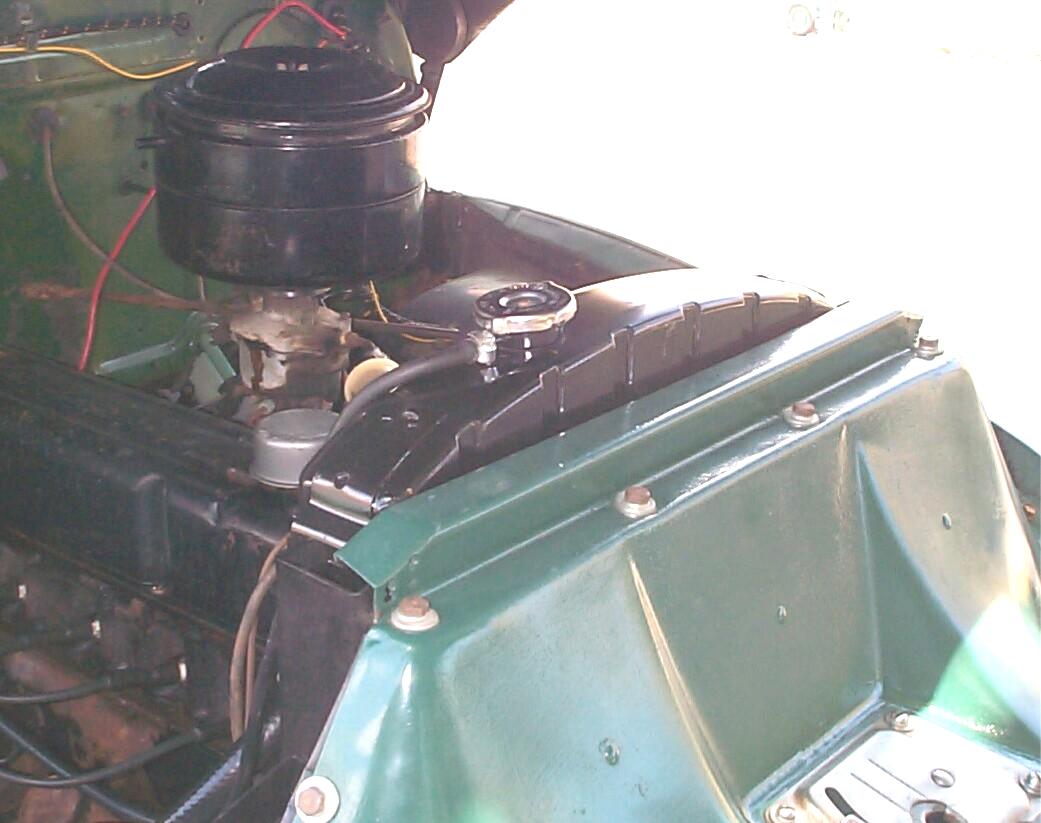
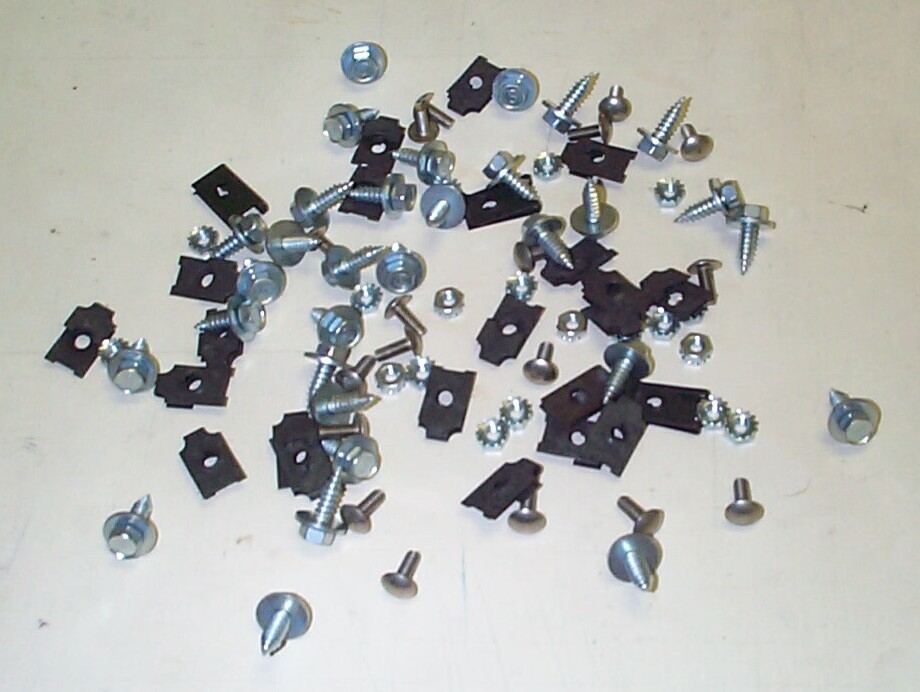 July
6th 2002 Sposed to rain
today but the sky looks good so far. Took the upper radiator baffle
off, then jacked BillyBob up and removed the front wheels for wheelwell
access. Set to work removing all the sheetmetal capscrews I could find
that were holding the grille on. I believe this amounted to eight
capscrews in each wheelwell plus two capscrews on each side behind the
upper grille bar holding it to the top of each fender. Most the the
wheelwell capscrews were covered with undercoating so it took awhile. A
couple of years back, I got a "Grille Fastener Kit 54-55 Chevy"
(#FA-21) from American Classic Truck Parts. For
today all I did was replace the old rusted capscrews with their new
stainless steel counterparts. When I get back to this task, I'll be
able to get the grille off quickly . . . At least that's the plan.
July
6th 2002 Sposed to rain
today but the sky looks good so far. Took the upper radiator baffle
off, then jacked BillyBob up and removed the front wheels for wheelwell
access. Set to work removing all the sheetmetal capscrews I could find
that were holding the grille on. I believe this amounted to eight
capscrews in each wheelwell plus two capscrews on each side behind the
upper grille bar holding it to the top of each fender. Most the the
wheelwell capscrews were covered with undercoating so it took awhile. A
couple of years back, I got a "Grille Fastener Kit 54-55 Chevy"
(#FA-21) from American Classic Truck Parts. For
today all I did was replace the old rusted capscrews with their new
stainless steel counterparts. When I get back to this task, I'll be
able to get the grille off quickly . . . At least that's the plan.
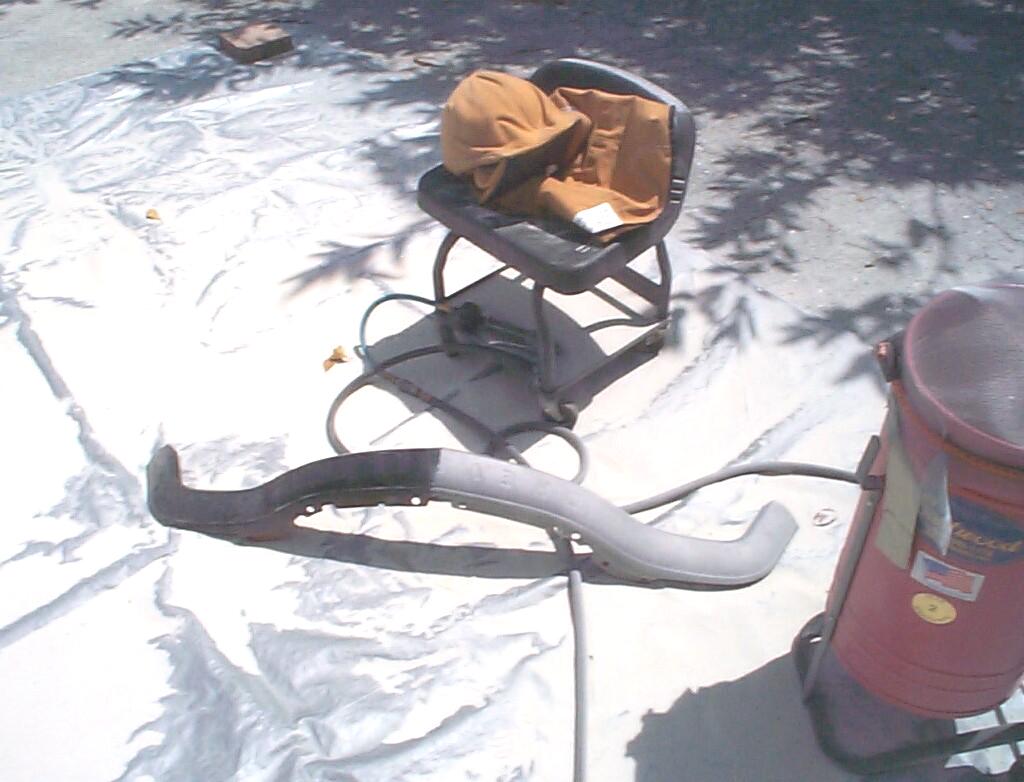
July 7th 2002 Decided to risk the rain and dragged out the siphon blaster to work on the spare upper grille bar that came with the truck when I got it from JR. A few weeks back, I followed the advice from Deve Krehbiel on the Old-Chevy-Trucks maillist and purchased a cabinet blaster gun (Part No. S-25) from TP Tools and a package of small blaster nozzles for the gun. Deve recommended medium nozzles but I choose small due to the limitations of my air compressor. I noticed improvement in the ten minutes I had to work . . . Yeah, ten minutes. Sun is shinning brightly and it's pouring down rain! One of the consequences of livin' in paradise, I reckon. The rain only lasted ten minutes but it ruined my day for media blasting. I began drying out and putting away tools.
July 14th 2002 Better weather today. Began again to siphon blast the upper grille bar but ran into moisture problems. The gun started to clog up. This is the first time this has happened to me. I gave up after 'bout an hour. Will get that pipe fitting I need before next time so I can see if an inline disposable filter will improve things.
 July
21th 2002 Tried again
today with the inline filter. It kept things from getting too wet to
work with even tho' it was saturated after about two hours of blasting.
I also set the air regulator at 80 PSI instead of 90 PSI to see what
difference that would make. The compressor didn't recycle as much. It's
slow going and part of the reason, I think, is two layers, at least, of
paint on the front of the grille bar. The rusted areas on the back go
faster. I remember someone saying or writing not to use sandblasting to
remove paint, use it to remove rust. Sandblasting in Florida in
mid-summer at midday is somewhat akin to a native american sweat lodge
experience . . . When you start to have a vision, it's time to quit.
July
21th 2002 Tried again
today with the inline filter. It kept things from getting too wet to
work with even tho' it was saturated after about two hours of blasting.
I also set the air regulator at 80 PSI instead of 90 PSI to see what
difference that would make. The compressor didn't recycle as much. It's
slow going and part of the reason, I think, is two layers, at least, of
paint on the front of the grille bar. The rusted areas on the back go
faster. I remember someone saying or writing not to use sandblasting to
remove paint, use it to remove rust. Sandblasting in Florida in
mid-summer at midday is somewhat akin to a native american sweat lodge
experience . . . When you start to have a vision, it's time to quit.
September 7th 2002 No work done last week. I was in Pennsylvania for a family reunion. It was my father's side of the family but my mother's brother, Richard, also showed up. The two families lived about a block apart during the great depression and a great grandmother on my mother's side was midwife to both families. Several of the oldtimers present had been delivered by her. I rented a car and drove North since I will not willingly give up what's left of the Bill of Rights to the thugs at airport security.
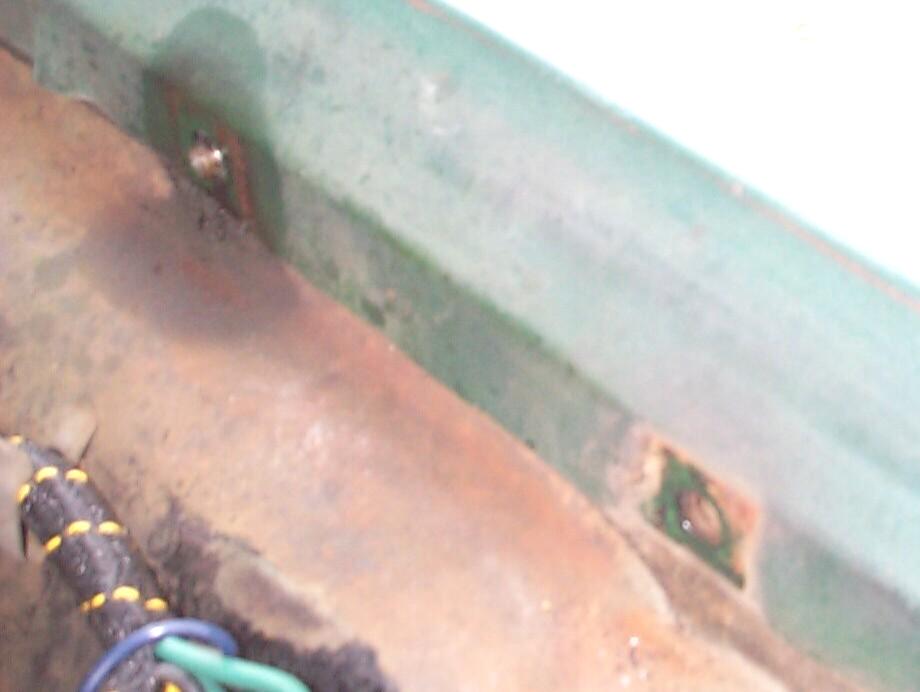
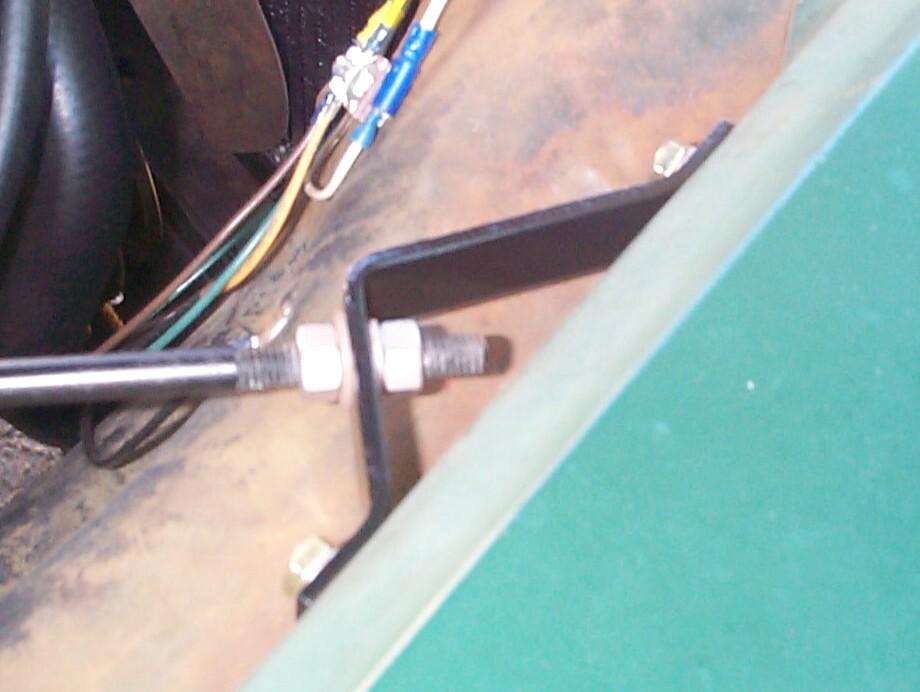
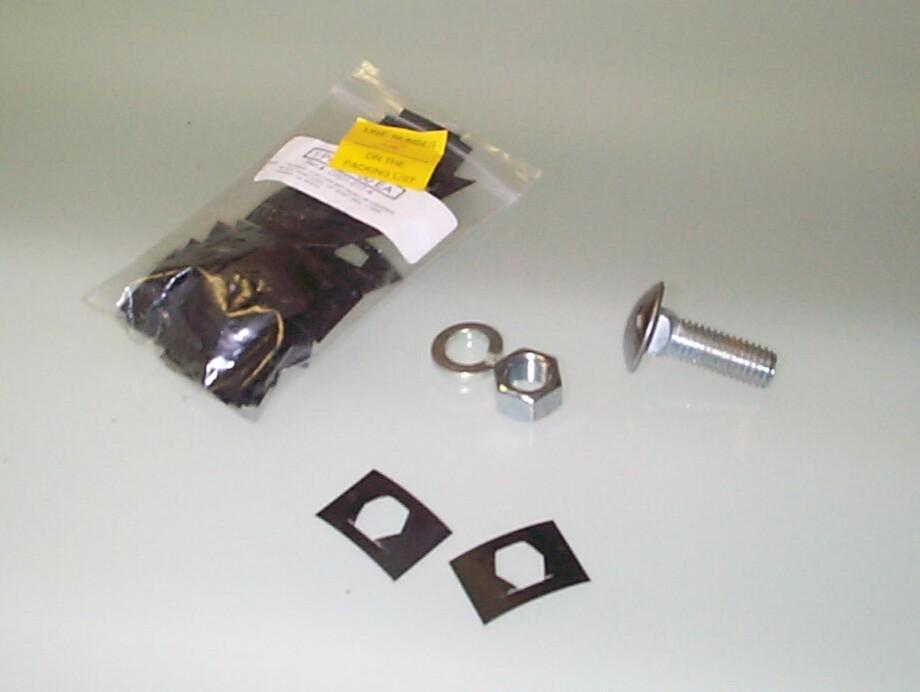
Still sandblasting the grille bars, couple of hours at a time on sundays, but there's only so much to say 'bout sandblasting, so I won't be reporting on that much. Gonna start working on the diagonal fender braces in the engine compartment today. Put some Kroil penetrating oil on the brace bolts and hex nuts and waited a few minutes for it to soak in. I'm not sure yet but I think the firewall end of these braces bolt into captured nuts. I hope so 'cause I don't feel like removing the firewall insulating blanket at this point. I removed one of each bolt and hex nut type to measure for replacements. The capscrews at the firewall end are 5/16"-18 x 5/8" and the hex nuts at the inner fender end turned out to be 3/8"-16. There are two of each needed for each brace. Went to two FLAPS and found the hex nuts but not the capscrews. Looks like another McMaster-Carr order in my near future.
October 27th 2002 I didn't know today was "spring ahead, fall back" day but when I arrived at the Krash Lab, the computers informed me they were changing the clocks and that I had gained an hour . . . OK with me. The cap screws came from McMaster-Carr, but I still need to pick up some flat washers and lock washers. Removed and sand blasted the braces with the siphon blaster before the sun heated the shadetree garage up too much. Afterwards, the braces were treated with PRE Paint Prep followed by a thirty minute OxiSolve treatment. Not so sure the OxiSolve does much good on bare metal. I will probably eliminate this step in the future unless there are pockets of rust I can't get at with the blaster.
 Used
the infared lamp curing system to heat up the braces and outgas
contaminants. Next, the braces were powder coated with "Low Gloss
Black" (#S010P) from Columbia Coatings and cured for fifteen minutes
(after flash point) with the Eastwood Infared Curing System.
Next up - the V-shape strap brackets that the diagonal braces connect
to at the fender end.
Used
the infared lamp curing system to heat up the braces and outgas
contaminants. Next, the braces were powder coated with "Low Gloss
Black" (#S010P) from Columbia Coatings and cured for fifteen minutes
(after flash point) with the Eastwood Infared Curing System.
Next up - the V-shape strap brackets that the diagonal braces connect
to at the fender end.
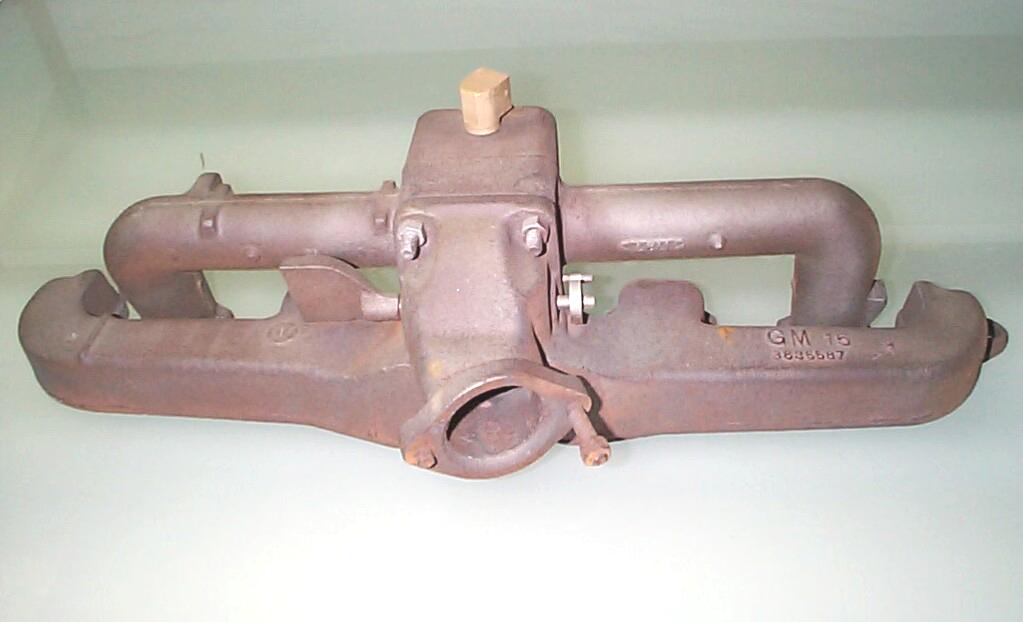 November
12th 2002 Saw an EBay
auction last week for 235 manifolds. No one had bid yet and there was a
"Buy it now" option for $35. I didn't hesitate. The manifolds arrived
today. They've been sand blasted. The heat riser valve works and the
carby insulator is intact as well as a vacuum fitting elbow. In the
pic, the manifolds are resting on glass and there is no noticable
warping of the gasket mating surfaces. I have to replace one or both of
the exhaust header studs and I don't know how to do that yet.
All-in-all, a good find. I had the chance the ask "VW Nate" about the
broken stud and he gave me two ways to get it out
November
12th 2002 Saw an EBay
auction last week for 235 manifolds. No one had bid yet and there was a
"Buy it now" option for $35. I didn't hesitate. The manifolds arrived
today. They've been sand blasted. The heat riser valve works and the
carby insulator is intact as well as a vacuum fitting elbow. In the
pic, the manifolds are resting on glass and there is no noticable
warping of the gasket mating surfaces. I have to replace one or both of
the exhaust header studs and I don't know how to do that yet.
All-in-all, a good find. I had the chance the ask "VW Nate" about the
broken stud and he gave me two ways to get it out
Now to remove it : Get a couple thick steel washers that have the same size hole as the broken off stud and a couple nuts too , take it all to the barrio and find a muffler shop with a Mexican or Cuban guy running the oxy acet. torch , show it to him and what he'll do is , A. heat up the broken stud untill it's red hot then cool it off really fast with water , this rapid cooling should break the bond between the rusty manifold and the stud , then he'll lay the flat washer over the stud and weld the nut onto the broken off end of the stud so you can just un-screw it with a wrench . if he doesn't know all this , find another muffler shop or welding shop that does - it's common work for any _experienced_ welder . If you decide to attack this @ home , get a new bottle for your propane plumber's torch and invert the manifold , lay the flat washer over the broken off stud and then heat the stud up untill it's cherry red , cool it off by squirting a whole can of your favorite penetrant on it , then remove the flat washer and try to grip the stud with a new set of Vise Grips , _not_ the old ones with smoothed ribs in the jaws ! use flat jawed Vise Grips for the job and don't just twist them untill they slip off , if the bolt doesn;t want to come out fairly easily , STOP and do the heat thing again as it's not free yet . the washer wil help prevent the cast iron manifold from heating up as much as the stud . Once you get that old stud out , replace it with new and get some stainless steel nuts , they'll never stick . don't use stainless studs or bolts as they're not strong enough .
Nate always has good advice and it usually costs less if I find out how he tackles an ole truck problem before trying it myself. Wonderful tips like soaking rusty parts in white vinegar for a few days to a week to remove the rust, for example. He ribs me for buyin' fancy tools and payin' too much for parts that can be had from the junkyards. Problem is, junkyards are not abundant in South Florida. This area was sparsley populated until the introduction of practical air conditioning in the fifties and land between the sea and the everglades is so expensive now that the salvage yards that do exist are rapidly disappearing. He did give me a break in the above advice and I immediately went to Sears and got new vice-grips (heh, heh). I'll report on my results when I remove the studs later.
 December
22nd 2002 Another
chilly morning (for south Florida). It's all relative 'tho. When I was
growing up in western Pennsylvania, if it ever got this warm in
December, I'd be out in the driveway washin' the car in my swimmin'
trunks! Went out and pulled the firewall to fender braces and their
v-shaped brackets at the fender end. The good news is that the bracket
bolts are 5/16"-18 capscrews and that I have a bunch of new ones from
McMaster-Carr on hand . . . the bad news is that I twisted one of them
off and will now have to figure out how to extract the stub without
ruining the captured nut it's stuck in. We'll worry 'bout that on
another day.
December
22nd 2002 Another
chilly morning (for south Florida). It's all relative 'tho. When I was
growing up in western Pennsylvania, if it ever got this warm in
December, I'd be out in the driveway washin' the car in my swimmin'
trunks! Went out and pulled the firewall to fender braces and their
v-shaped brackets at the fender end. The good news is that the bracket
bolts are 5/16"-18 capscrews and that I have a bunch of new ones from
McMaster-Carr on hand . . . the bad news is that I twisted one of them
off and will now have to figure out how to extract the stub without
ruining the captured nut it's stuck in. We'll worry 'bout that on
another day.
 Pulled
out the siphon blaster and sand-blasted the v-shaped brackets clean.
Set up my powdercoating rig and wired the brackets to the jerry-rigged
framework. Prepped the brackets with Eastwood's PRE and then set up the
infared curing lights to outgas the cleaning chemicals. Powdercoated
the brackets with Columbia Coatings "Low Gloss Black" and cured them
for fifteen minutes after flash point with the infared lamp. Tin-zinc
plated hex nuts and washers and put them in the tumbler to polish
afterwards. The cap screws were already cadimum plated so I left those
alone. I still need new 3/8" flat washers so I plated the old ones for
the time being.
Pulled
out the siphon blaster and sand-blasted the v-shaped brackets clean.
Set up my powdercoating rig and wired the brackets to the jerry-rigged
framework. Prepped the brackets with Eastwood's PRE and then set up the
infared curing lights to outgas the cleaning chemicals. Powdercoated
the brackets with Columbia Coatings "Low Gloss Black" and cured them
for fifteen minutes after flash point with the infared lamp. Tin-zinc
plated hex nuts and washers and put them in the tumbler to polish
afterwards. The cap screws were already cadimum plated so I left those
alone. I still need new 3/8" flat washers so I plated the old ones for
the time being.
 January
1st 2003 A brand new
year. Cleaning up last year's loose ends at the Krash Lab today. The
Internet DSL connection is acting up an' causing me ~!@#$fits!
The good news is that my mig welder arrived from TP
Tools yesterday after I left and was waiting for me in the
lobby this morning. I had ordered a package deal consisting of
(#8050-135) Lincoln SP 135 welder, (#8050-20) Deluxe Welder Cart, and
(#7104-31) Pro Auto Darkening Helmet. I'd also ordered their (#8060-45)
Welding Accessory Kit which includes welding gloves, protector sleeves,
crazy cap, nozzle welding gel and two magnetic welding jigs. While I
was waiting for my Internet ISP to "straighten up 'an fly right", one
of my Dad's favorite sayings, usually applied to JR or me, I set about
putting the cart and welder together. Now, I gotta do some manual
reading and find a local supplier of mig gas.
January
1st 2003 A brand new
year. Cleaning up last year's loose ends at the Krash Lab today. The
Internet DSL connection is acting up an' causing me ~!@#$fits!
The good news is that my mig welder arrived from TP
Tools yesterday after I left and was waiting for me in the
lobby this morning. I had ordered a package deal consisting of
(#8050-135) Lincoln SP 135 welder, (#8050-20) Deluxe Welder Cart, and
(#7104-31) Pro Auto Darkening Helmet. I'd also ordered their (#8060-45)
Welding Accessory Kit which includes welding gloves, protector sleeves,
crazy cap, nozzle welding gel and two magnetic welding jigs. While I
was waiting for my Internet ISP to "straighten up 'an fly right", one
of my Dad's favorite sayings, usually applied to JR or me, I set about
putting the cart and welder together. Now, I gotta do some manual
reading and find a local supplier of mig gas.
 January
12th 2003 The boss came
around the corner of the building this morning to find me in a moment
of meditation as I waited for the air compressor to catch up to the
sand blaster. When Mom saw the pic she thought it looked like a
spaceman examining an alien artifact.
January
12th 2003 The boss came
around the corner of the building this morning to find me in a moment
of meditation as I waited for the air compressor to catch up to the
sand blaster. When Mom saw the pic she thought it looked like a
spaceman examining an alien artifact.
 March
8th 2003 Nice weather
today under the shadetree. There's been a square hole in the middle of
my front bumper since I put the new chrome bumper on back in June 2001.
There are five front bumper bolts and the center one is a dummy
(doesn't connect to anything). Because of the square bumper bolt shank,
you can't snug up the hex nut behind the bolt. The old one had a rusty
spring nut holding it on that broke when I removed it. Finally
determined the correct terminology (1/2" spring nut) and ordered a pack
of 'em from McMaster-Carr. Arrived last week and I installed the last
bumper bolt today. Spring nut was a little loose so, I used two of them
and put on the standard bumper bolt and lock washer behind them. It's
snug now.
March
8th 2003 Nice weather
today under the shadetree. There's been a square hole in the middle of
my front bumper since I put the new chrome bumper on back in June 2001.
There are five front bumper bolts and the center one is a dummy
(doesn't connect to anything). Because of the square bumper bolt shank,
you can't snug up the hex nut behind the bolt. The old one had a rusty
spring nut holding it on that broke when I removed it. Finally
determined the correct terminology (1/2" spring nut) and ordered a pack
of 'em from McMaster-Carr. Arrived last week and I installed the last
bumper bolt today. Spring nut was a little loose so, I used two of them
and put on the standard bumper bolt and lock washer behind them. It's
snug now.
Well, this log entry has gone on long enuf and I haven't published anything new to the BillyBob site for almost two months. Got off to a slow start this year with cold weather and office rennovations slowing up work under the shadetree but I'm rollin' along now pretty good. Even had some excitement last weekend when I found our dumpster full of campaign signs for a local city council election. The signs being all from two of the five candidates and, this being Palm Beach County, Florida, I suspected foul play. Informed my boss and he called one of the candidates who came and got the signs. On the following Monday the Candidate was back with a TV news crew for my story. We re-enacted the dumpster retrival and they asked me dumb questions for ten minutes. I obliged them with dumb answers. That night I got 7 seconds of my 15 minutes of fame. One shot of me doing a sign count and a pithy response when asked for my reaction: "Looks like south side Chicago to me!" Fame is fleeting, however, and the shadetree garage is back to normal this weekend. Got more brake work coming up in the next log entry and interior work, chassis work, doors and residual electrical tasks going on too. See ya all down the line.
| < Back
to Intro |
You can email me at ![]() webmaster@laroke.com
webmaster@laroke.com
Issued Saturday March 8, 2003
Updated Monday February 12, 2018
copyright © 1996-2018 Larry Robert Kephart all rights reserved
| | LRK Home | | Bio Info | | Krash Khronicles | | LAROKE | |
| | BettyLou | | BillyBob's Garage | | Rat Patrol | | Deerslayer | | Elvira | |
| | Land of the Free and Home of the Brave | |
| | Keppylou's Art | | WWI Soldier's Diary | |